Policies are an excellent resource in Cloudhouse Guardian (Guardian) that allow you to define a desired configuration state at the node or node group level. For example, you could create a policy to ensure that a set of roles and features are installed on a node, or that certain environment variables are set. The following topic describes how to create a policy from a node scan in order to uphold a desired state of configuration for a selected item or attribute. For more information on policies, see Policies.
The term 'node' in Guardian is used to represent any scannable object in your environment. All monitored nodes are scanned on a regular basis, either according to a set schedule, or Guardian's default settings. There are a few reasons you may want to create a policy from a node scan. If a configuration item or attribute is behaving inconsistently between scans, you can define the correct configuration state by creating a policy from the desired node scan. The policy checks are then run each time the node is scanned, with the results indicating whether the checks passed or failed. You can use the policy results to better understand how your nodes are behaving. For example, you can create a policy to check that a specific user has a defined set of properties, or that the IP address of a node's server is being set correctly. There are a myriad of properties that Guardian can check during each scan.
To create a policy from a node scan, complete the following steps:
-
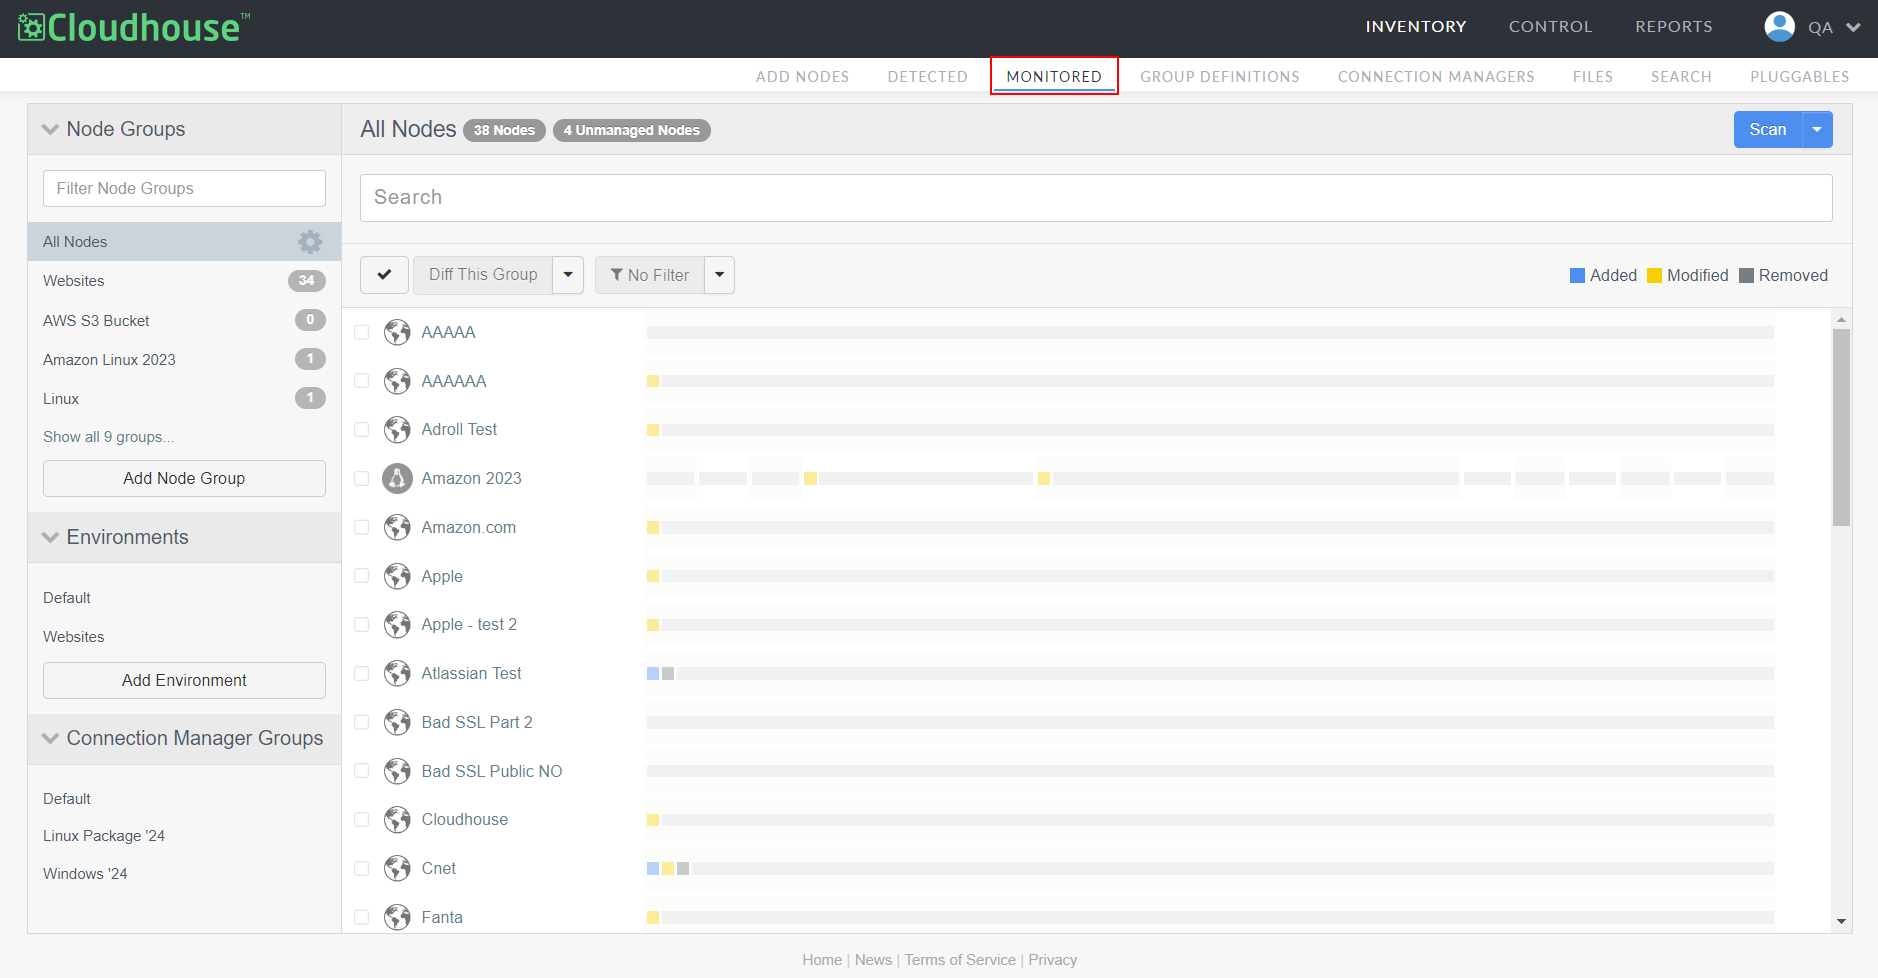
In the Guardian web application, navigate to the Monitored tab (Inventory > Monitored).
-
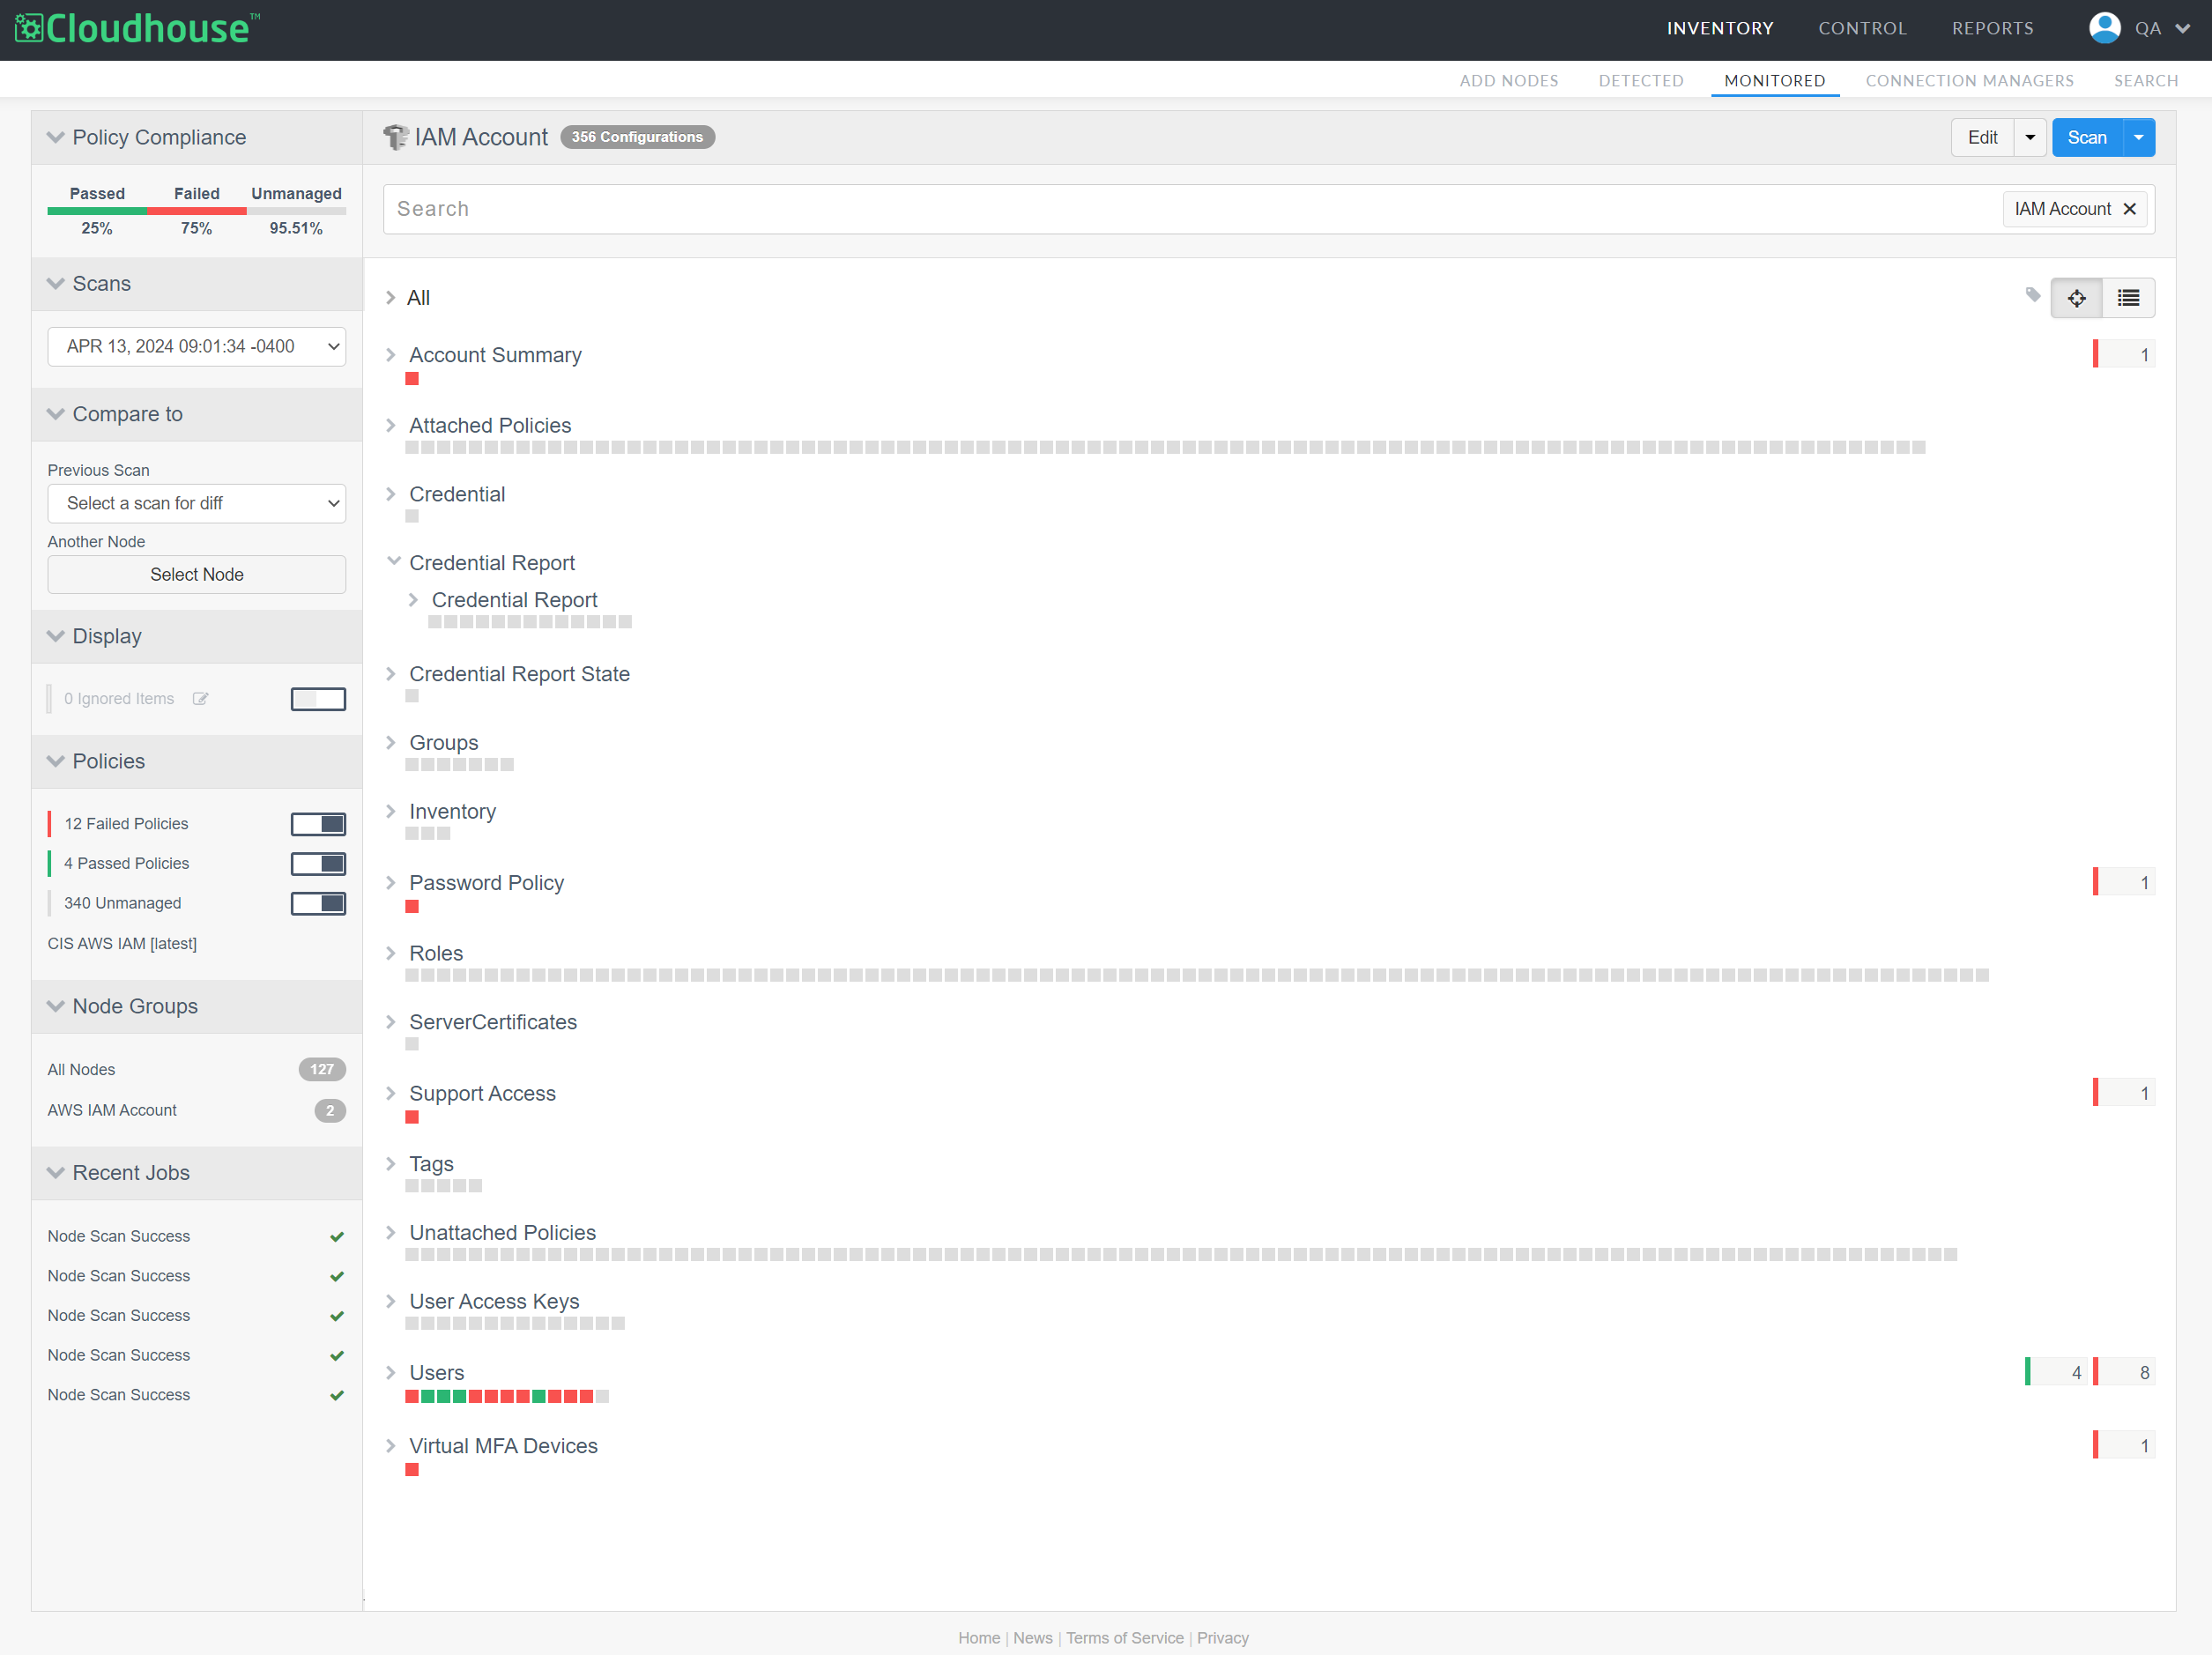
In the Node Groups drop-down menu, select the node that you want to access from the 'All Nodes' node group. The results of the node's most recent scan are displayed. For more information on this page, see Node Scan Results.
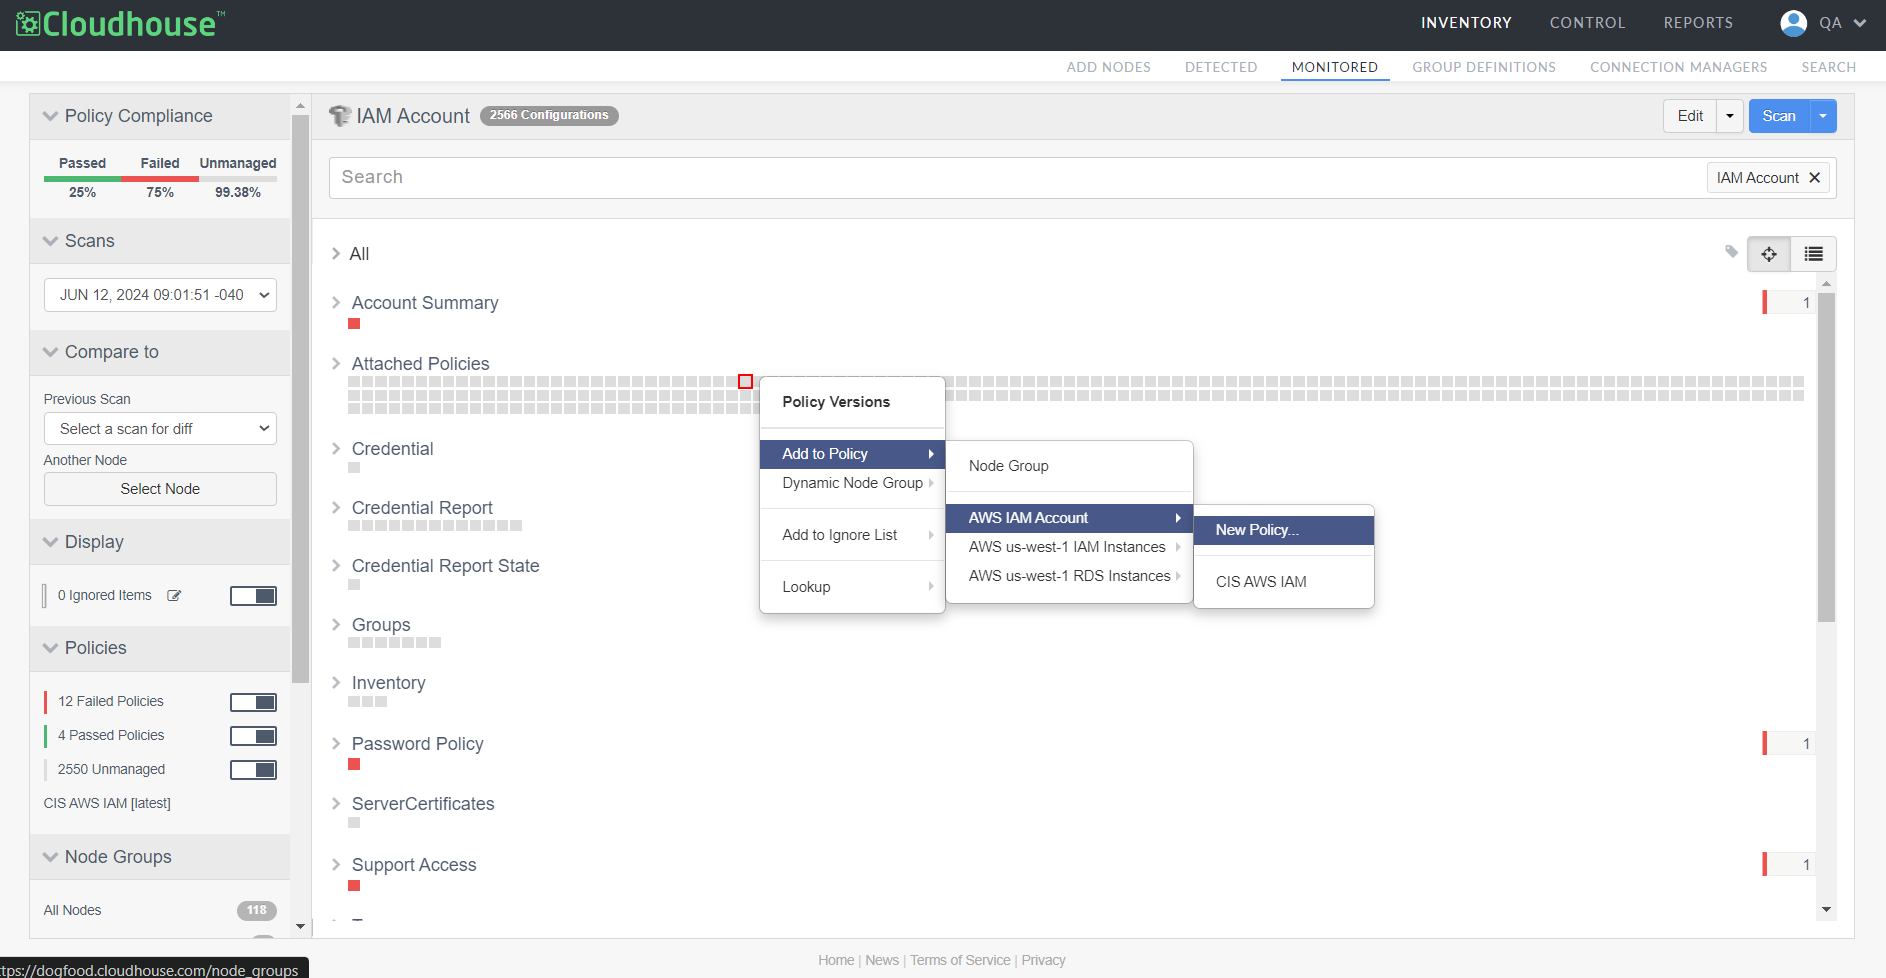
Note: Each configuration item is represented by a square. Configuration items that already have a policy applied appear as red or green; the color indicating whether the policy passed or failed during the current scan.
Here, you can add anything that is displayed on the node's scan results to a policy. Essentially anything that is displayed underneath the 'All' configuration type, such as individual configuration items (the squares), or overarching configuration types (such as 'Packages' or 'Files').
-
Right-click on the item you want to add to a policy. Several options are displayed.
Tip: Use the search bar to filter and group the items you want to add to a policy. Then, create a policy for each of the items returned by the search query by right-clicking on the 'All' configuration item. This way, you don't need to create individual policies for each item.

-
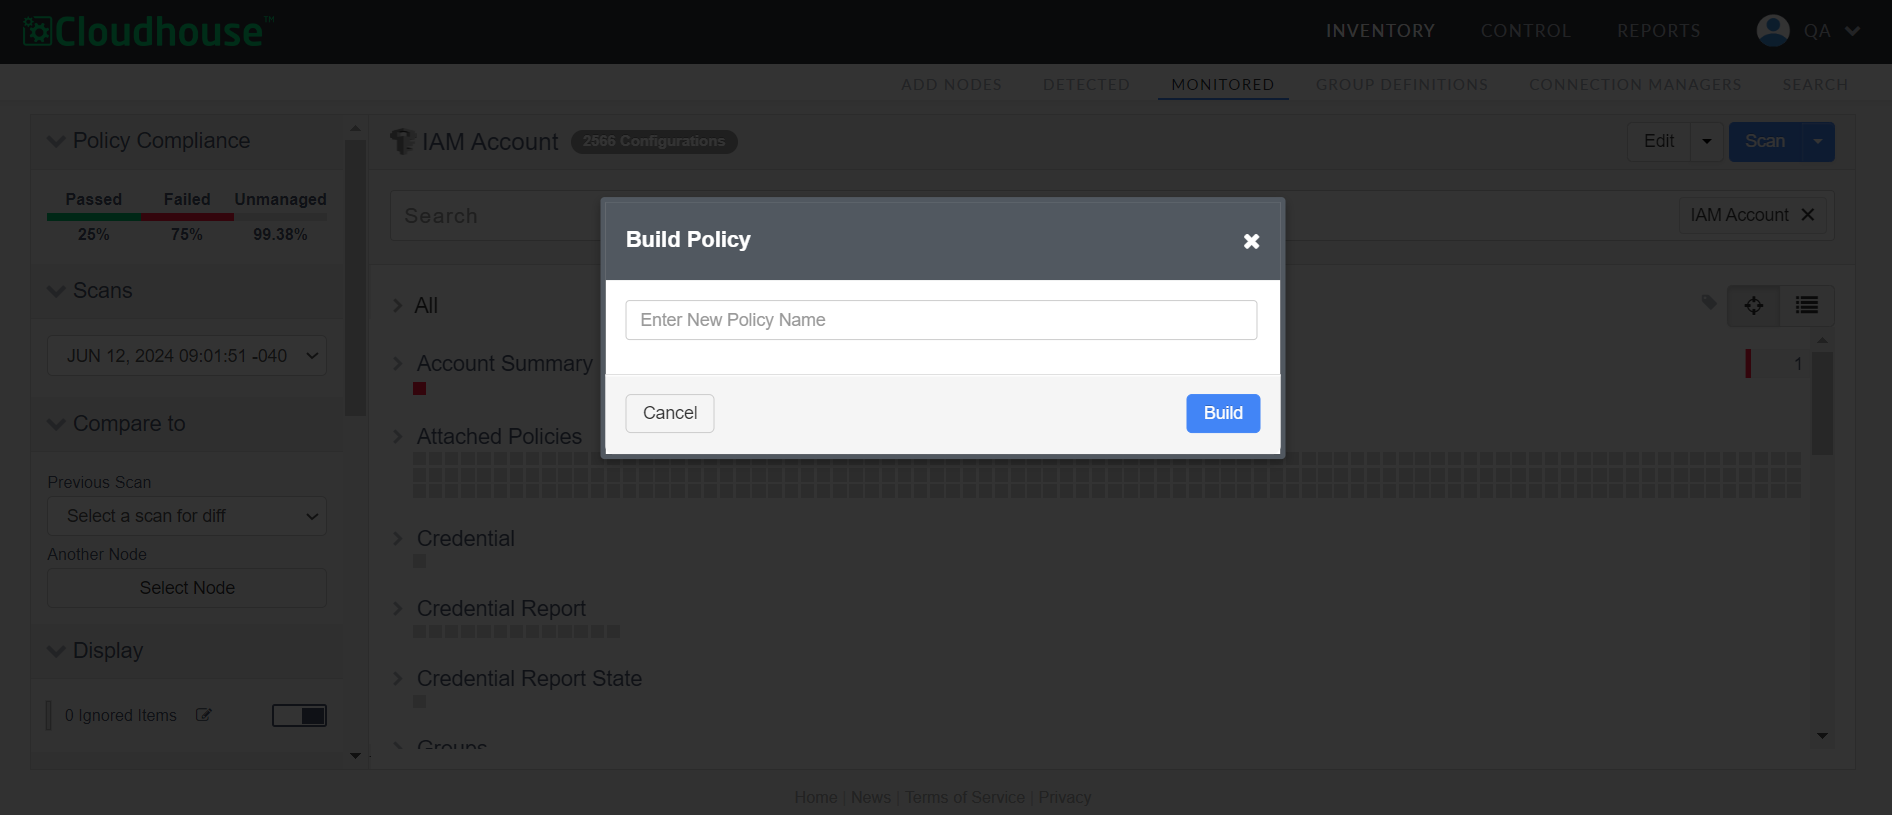
Hover your cursor over the Add to Policy option, then move your cursor to the node group you want the policy to validate, and then select New Policy. The Build Policy dialog is displayed.
Note: Alternatively, you can select an existing policy from the list to add the selected item's current configuration state as a series of checks to the existing policy.
-
Enter a name for the policy in the field provided, then click Build.
The policy is created and applied to the node group you selected. The following confirmation message is displayed, 'Policy [name] is applied to [node group], affecting [X] nodes - Generate Report'. Click the 'Generate Report' hyperlink to generate a report detailing how many times the policy check has been run, passed, and failed on the affected nodes. For more information, see Policy Reports.